前からやってみたかった言語「Python」について「日経ソフトウェア」に記事があったので簡単なところから手をつけてみようと思いました。
どうせなら記事にしてわかりやすくしとこうかな・・・という感じで書いてみます。
「Pythonとは」
「Python は Guido van Rossum 氏による、フリーなオブジェクト指向プログラミング言語です。」※「Python Japan User’s Group」サイトより引用
ん!?「Java」を習得している私からすると「じゃあ、Javaと同じかな」と思うのですが、「Python」はインタプリタ型、「Java」はコンパイラ型という違いがあるようです。
※インタプリタ型はプログラムを作成したまま実行出来るもの、コンパイラ型はマシン語(または中間言語)にコンパイルしたあと実行出来るもの・・・です。
ただし、やはり実行速度については「コンパイラ型」の「Java」に軍配が上がります。
※参考資料 Ruby,Python,Javaの実行速度比較
データベース操作、Webプログラミング、デスクトップUIを構築するためのライブラリ・モジュールも存在する(※日経ソフトウェアから引用)らしいので楽しそう~♪
というわけで、とにかくはじめたがりな私は前置きもテキトーに行動に移します。
「インストール」
「Python Japan User’s Group」サイトのメニュー>コンテンツ>ダウンロードをクリックして「Python標準リリース」リンクをクリック。
すると「ダウンロードページ」に遷移し「最新バージョン」以下に「Python2.7.1」と「Python3.2」が存在します。
「日経ソフトウェア」では「2.7.1」をダウンロードしていますがここではあえて「3.2」をダウンロードしてみます。
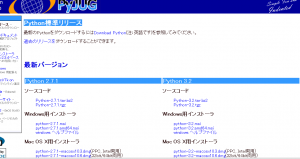
Python Japan User's Group
※自分の環境に合う物をダウンロードします。
ダウンロードが完了したら実行します。
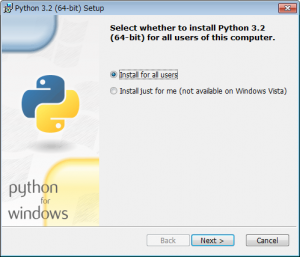
Pythonインストール
どんどんインストールしていきます!
※画面はWindows64ビット版です。
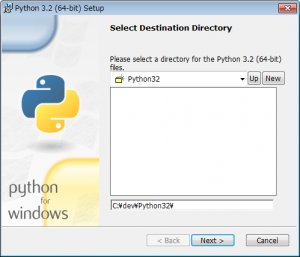
Pythonインストール・・・
インストールするディレクトリ設定。
※ここでは「C:\dev\Python32\」にインストールします。
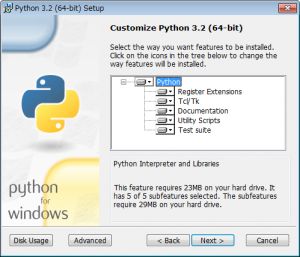
Pythonインストール・・・・
とにかく「Next >」の嵐!
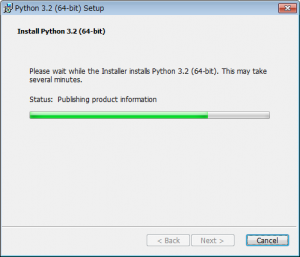
あとは待つだけ!
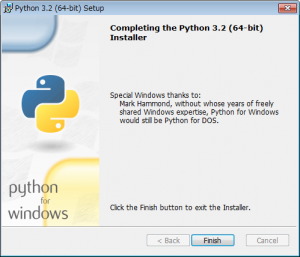
完了!
Eclipseの設定
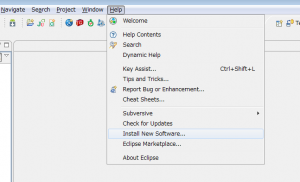
Help > Install New Software… クリック。※日本語版の方は読み替えてください。
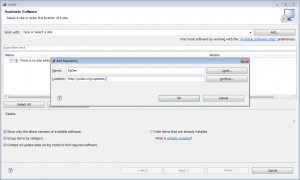
Add…ボタンをクリックし出てきた「Add Repository」に
Name: Pydev
Location: http://pydev.org/updates/
と入力し「OK」を押します。
しばらく待つと・・・
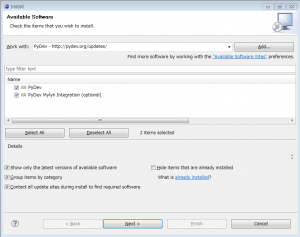
インストールするものを聞いてくるのでとにかく全部チェック(※PyDevだけでいいと思いますが・・・)して「Next >」を押します。
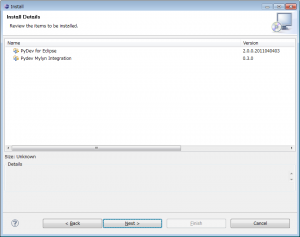
こんな確認画面が出てくるので「Next >」を押します。
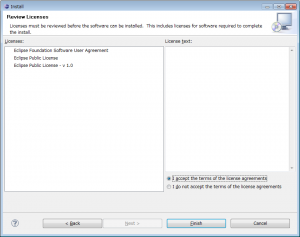
この画面では「I accept the terms of the license agreements」をチェックして
「Finish」を押します。(※acceptしないと「Finish」が有効になりません。)

あとは待つのみ・・・・

で「Restart Now」押して再起動!
「Python」と「PyDev」両方インストール完了後、eclipse上で
「Python」の設定を行います。
Window→References をひらいて
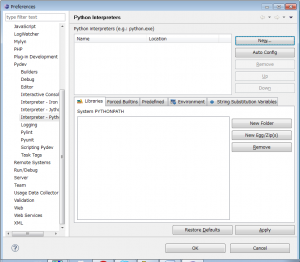
「Python Interpreters」の「New…」をクリック

表示された「Select Interpreter」に
Interpreter Name: Python3.2
Interpreter Executable: C:\dev\Python32\python.exe
※インストール場所に読み替えてください。
設定し「OK」ボタンを押す。
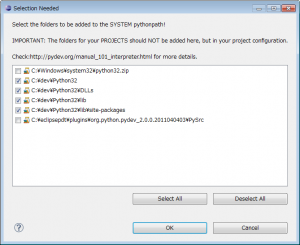
こんな画面が現れるのでデフォルトのまま「OK」ボタン押す。
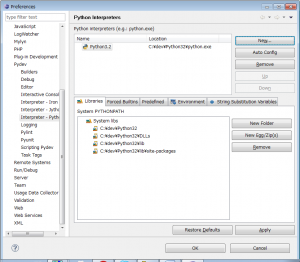
こんな感じでいいのかな・・・と思いつつ「OK」ボタン押下。
Pythonプロジェクトの作成
「File」→「New」→「Project…」選択
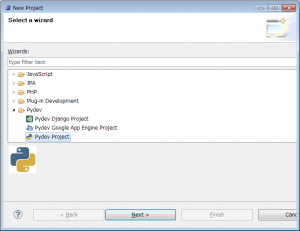
「New Project」のSelect a wizardで「Pydev Project」選択し「Next >」ボタン押下
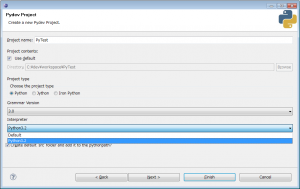
プロジェクトの設定でいろいろ入力
Project Name: PyTest (※テキトーにどうぞ)
Project Contents: ※自分のすきなところ
Project Type: Python
Grammer Version: 3.0
Interpreter: Python3.2
Create default ‘src’ folder and add it to the pythonpath?: チェック
ここまで設定したら
「Finish」を押す。
※パースペクティブをどうのこうの言われるので言われるがまま「OK」押す。

「PyTest」プロジェクトが出来たので
‘src’を右クリックしてパイソンプログラムを書きましょう!
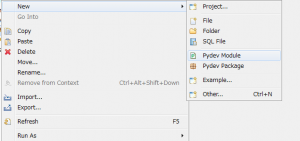
New → Pydev Module 選択
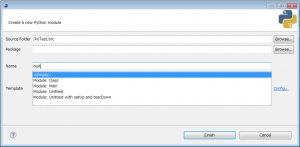
とりあえずNameだけ「test」変更して「Finish」押す。

「test.py」が作成されるので内容を変更し保存します。
”’
test.py
”’
print(“Hello Python!”)
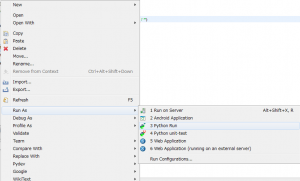
「test.py」を右クリックして
「Run As」→「Python Run」を選択。

Console に「Hello Python!」と表示されて完了!
今回はここまでにしとうございます。


